# How to setup a printer to open cash drawer automatically?
Your cash drawer can be configured to automatically open when you print a receipt for each transaction.
Here are the steps you can take to configure your cash drawer.
1. Plug in the RJ12 connector cable (which looks similar to a phone line) from the cash drawer into your receipt printer.
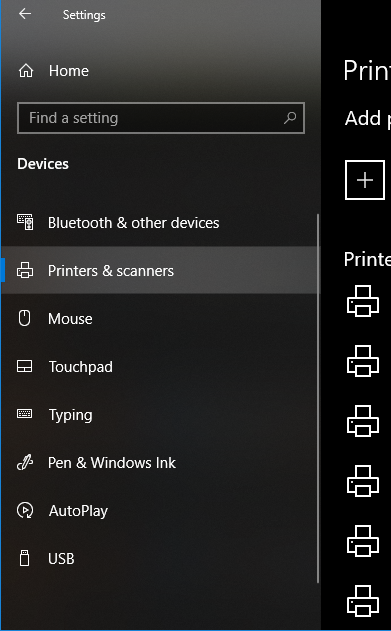
2. Next, go to the Settings menu in Windows 10, select Devices, and select Printers & Scanners on the left-hand menu.
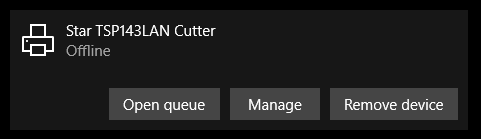
3. Select the printer you’d like to configure and click on the Manage button.
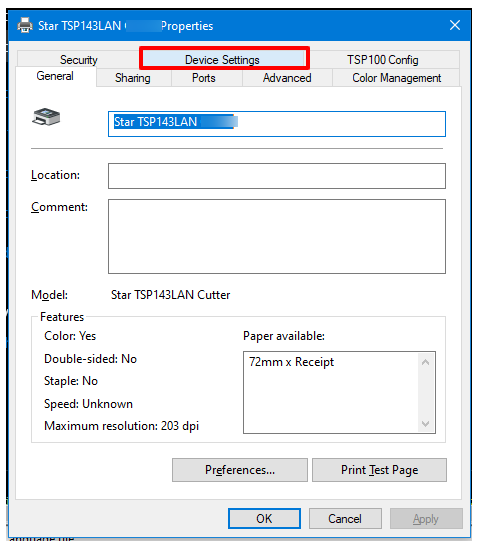
4. Next, click on the Printer Properties link and a window will open. From here, select the Device Settings tab.
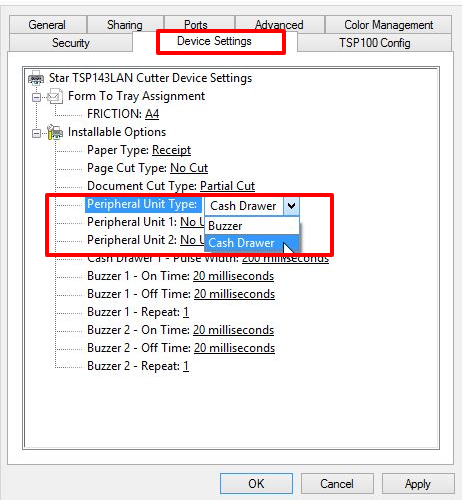
5. Under Installable Options, find the Peripheral Unit Type and change it to ‘Cash Drawer’.
6. Change the Peripheral Unit 1 and Peripheral Unit 2 fields to ‘Document Bottom’ to have the drawer open after the receipt starts printing.
7. Click OK to save these settings and perform a test sale to see if it’s been configured properly.
{% hint style="info" %}
**Note:**
If you want the cash drawer to trigger before the receipt prints, select `‘Document Top’` in Peripheral Units 1 and 2
{% endhint %}